-
×InformationNeed Windows 11 help?Check documents on compatibility, FAQs, upgrade information and available fixes.
Windows 11 Support Center. -
-
×InformationNeed Windows 11 help?Check documents on compatibility, FAQs, upgrade information and available fixes.
Windows 11 Support Center. -
- HP Community
- Printers
- Printing Errors or Lights & Stuck Print Jobs
- Printer shows low ink whereas the ink tank is full

Create an account on the HP Community to personalize your profile and ask a question
03-04-2019 01:01 PM
Welcome to the HP Support Community!
Step 1: Reset the printer
1. With the printer turned on, disconnect the power cord from the rear of the printer.
2. Wait at least 60 seconds.
3. Reconnect the power cord to the rear of the printer.
4. Turn on the printer, if it does not automatically turn on.
5. Wait until the printer is idle and silent before you proceed.
Step 2: Check the Ink levels
Visually check the printer ink levels using the ink tank window. Maintain the printer ink levels between the maximum and minimum fill lines.

Step 3: Make sure the printheads are properly installed
If you have already installed the printheads, skip to the next step.
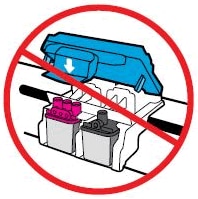
CAUTION:Do not open the blue carriage latch after printhead installation unless you are installing new printheads or moving the printer long distances.
-
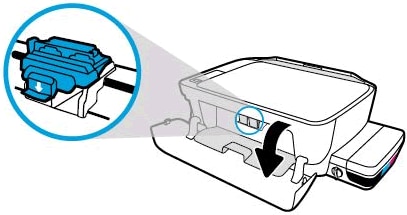
With the printer turned on, open the exterior door, and then open the printhead access door.
The printhead carriage moves to the center of the printer.
Accessing the printhead carriage

2. Install the printheads
-
Insert the black printhead into the right slot.
-
Insert the tri-color printhead into the left slot.
Figure: Inserting the black and color printheads

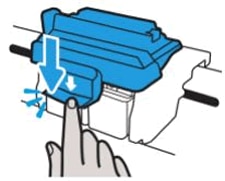
3. Close the blue carriage latch by pushing down firmly until the latch snaps into place.
Figure: Closing the blue carriage latch

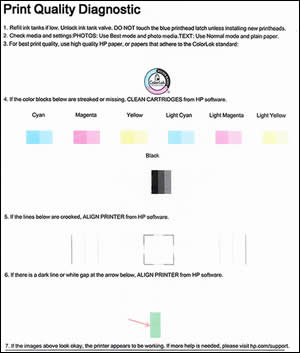
Step 4: Print a Print Quality Diagnostic page
Press and hold the Start Copy Color button  on the printer control panel for 3 seconds to print a Print Quality Diagnostic page.

Step 5: Update the printer firmware
Click here to know how to update the firmware
Let me know if this works
Please click “Accept as Solution” if you feel my post solved your issue, it will help others find the solution. Click the “Kudos/Thumbs Up" on the bottom right to say “Thanks” for helping!
KUMAR0307
I am an HP Employee

