-
×InformationNeed Windows 11 help?Check documents on compatibility, FAQs, upgrade information and available fixes.
Windows 11 Support Center. -
-
×InformationNeed Windows 11 help?Check documents on compatibility, FAQs, upgrade information and available fixes.
Windows 11 Support Center. -
- HP Community
- Printers
- Printing Errors or Lights & Stuck Print Jobs
- Missing lines when printing with OfficeJet Pro 9015

Create an account on the HP Community to personalize your profile and ask a question
03-13-2020 08:53 PM - edited 03-13-2020 09:08 PM
Hi I just bought an OfficeJet Pro 9015. The printer jammed. I cleared the jam. Now the pages print with white horizontal lines. The same happens when I copy. The white lines appear to be always on the same places on the page. Can you please help? Thanks
03-16-2020 12:17 PM
Hi @Jibeo
Welcome to the HP Support Community. I'd be happy to assist you with the "Missing lines when printing/copying" issue.
Please try the steps to resolve the issue-
Step 1: Clean the printhead
The printhead could be clogged, and you might need to clean the printhead several times to restore print quality. Use the automated tool from the printer control panel to clean the printhead.
caution:Never turn off the printer when ink cartridges are not installed. To avoid issues that require cleaning the printhead or that can damage the ink system, always replace ink cartridges as soon as possible, and always turn off the printer using the Power button.
-
On the printer control panel, swipe down to open the Dashboard, and then touch the Setup icon
.
-
Swipe up on the display, and then touch Printer Maintenance.
-
Touch-Clean Printhead, and then touch Continue.
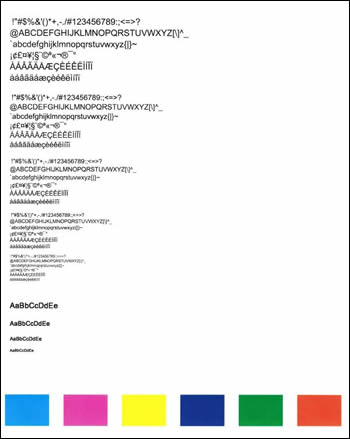
A test page prints.
-
Examine the test page.
-
If the print quality is unacceptable, touch Clean Again to continue the next level of cleaning. Repeat these steps for the third cleaning stage, if necessary.
note:
If the printhead is badly clogged, it might require another cleaning cycle. If so, wait 30 minutes before you perform all three levels of cleaning again.
-
If the print quality is acceptable, touch Done.
-
Step 2: Align the printhead
Aligning the printhead can resolve errors with Test Pattern 1.
-
On the printer control panel, swipe down to open the Dashboard, and then touch the Setup icon
.
-
Swipe up on the display, and then touch Printer Maintenance.
-
Touch Align Printhead, and then touch Continue.
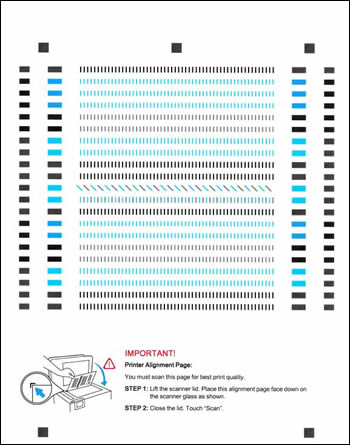
An alignment page prints.
-
Open the scanner lid, place the alignment page on the scanner glass, and then touch Scan. See the engraved guide next to the scanner glass for help loading the alignment page.
The printer scans the alignment page, and an Alignment Successful message displays on the control panel.
Hope this helps! Keep me posted.
Please click “Accept as Solution” if you feel my post solved your issue, it will help others find the solution.
Click the “Kudos, Thumbs Up" on the bottom right to say “Thanks” for helping!
Have a great day!